Welcome to Nikon School. The official Nikon education experts to help you learn how to get the best from your Nikon Camera and Lenses

Plant Macro Photography

Follow these hints and tips and let Neil guide you through the best set ups to maximize your Macro Photography.

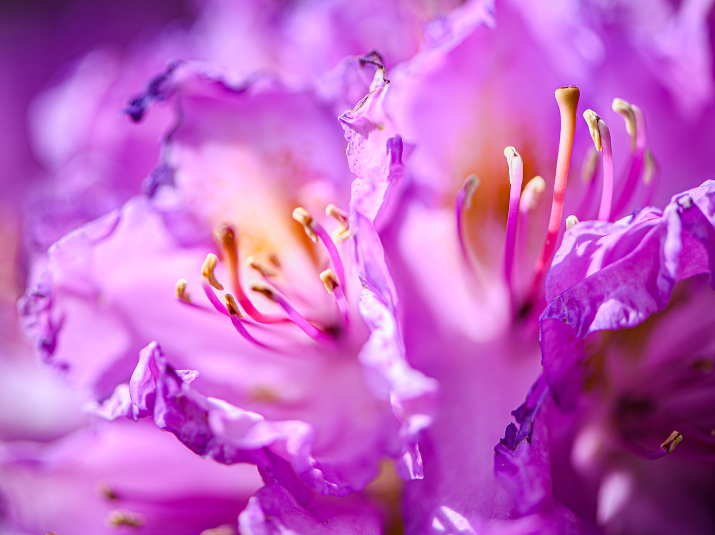
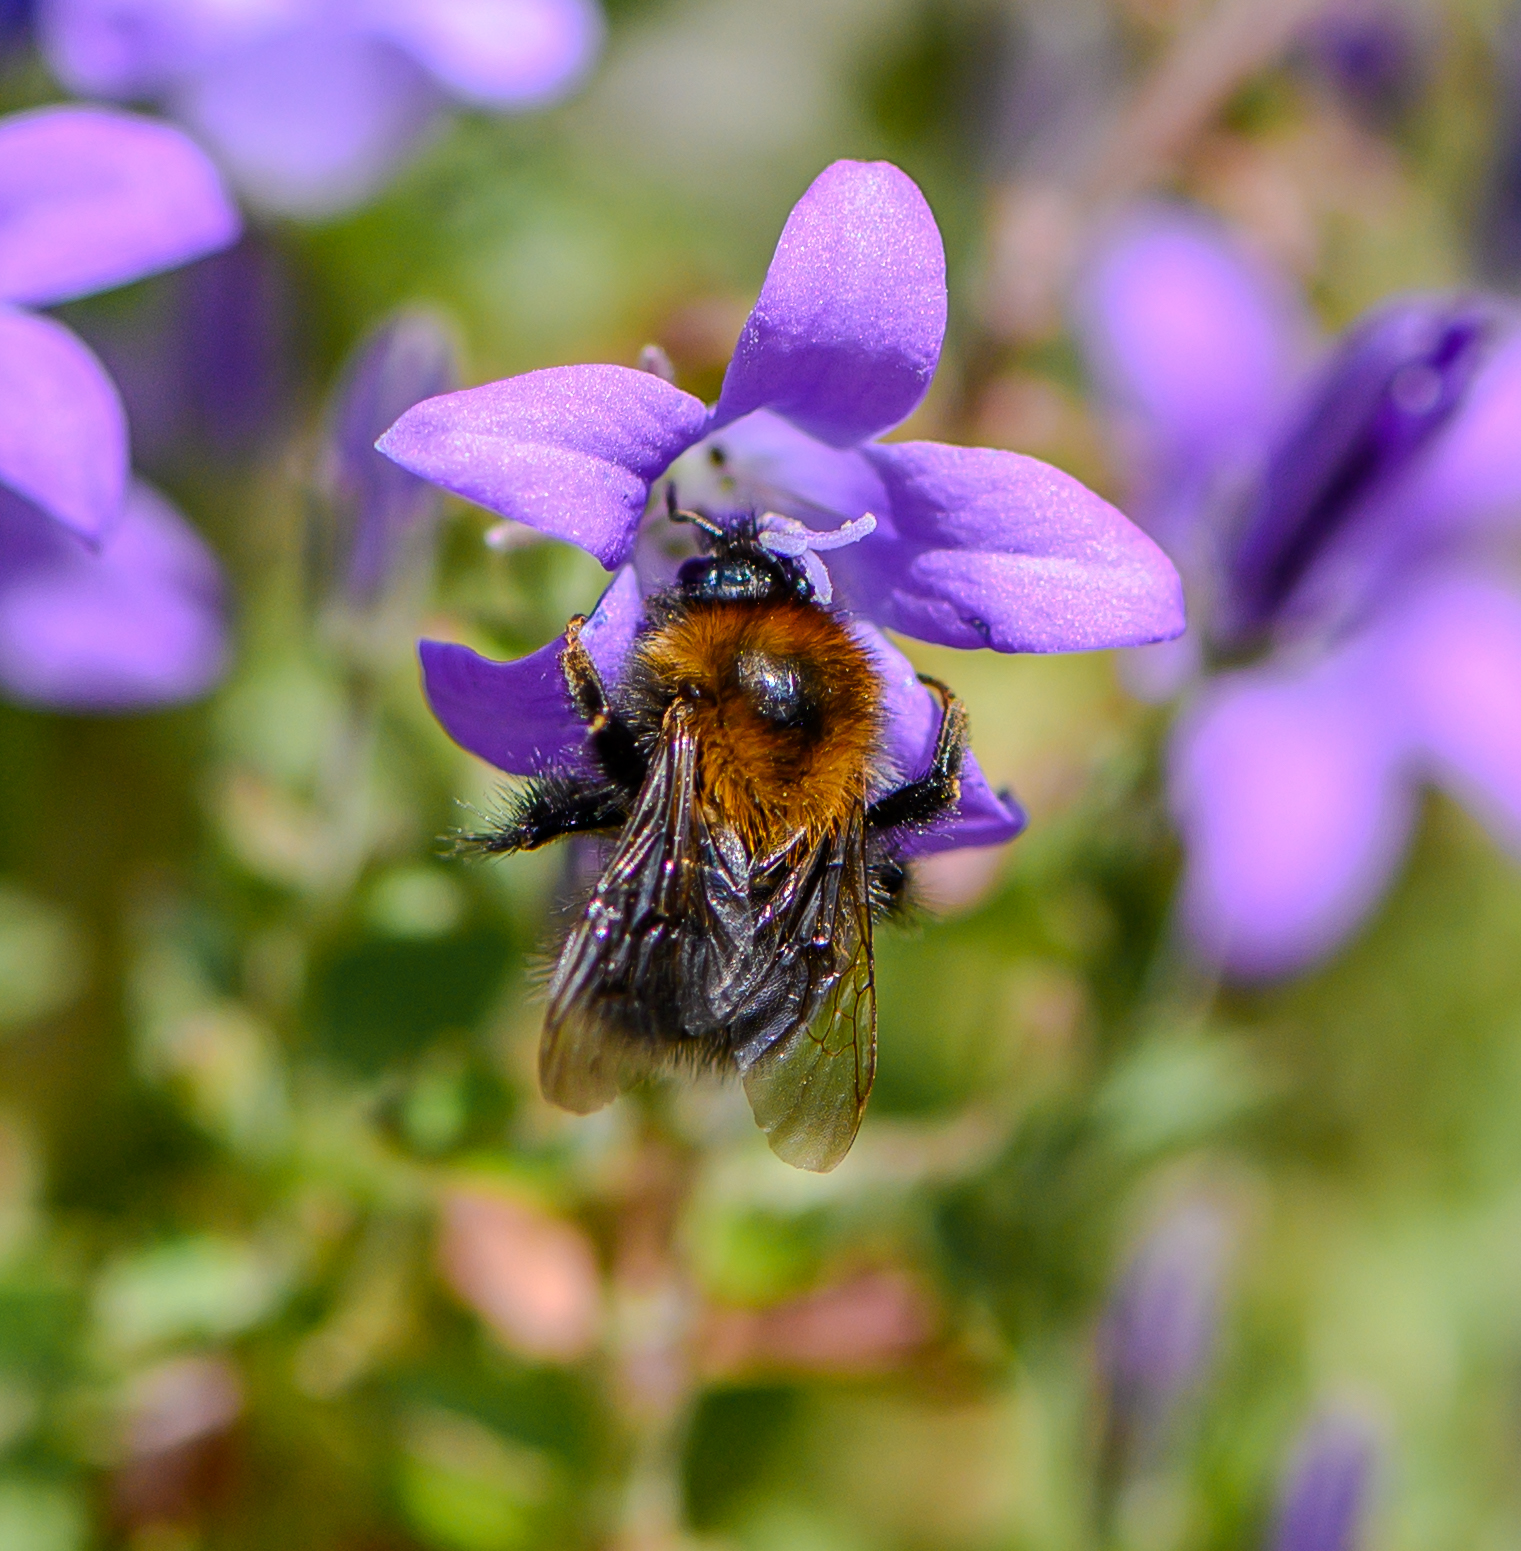
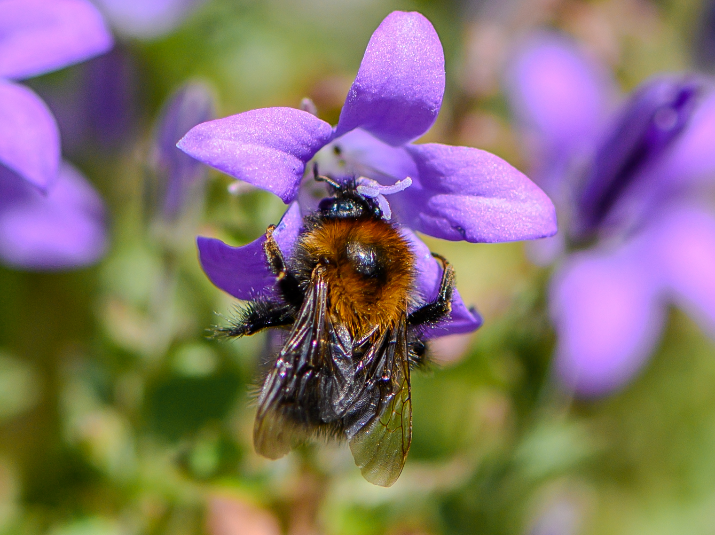
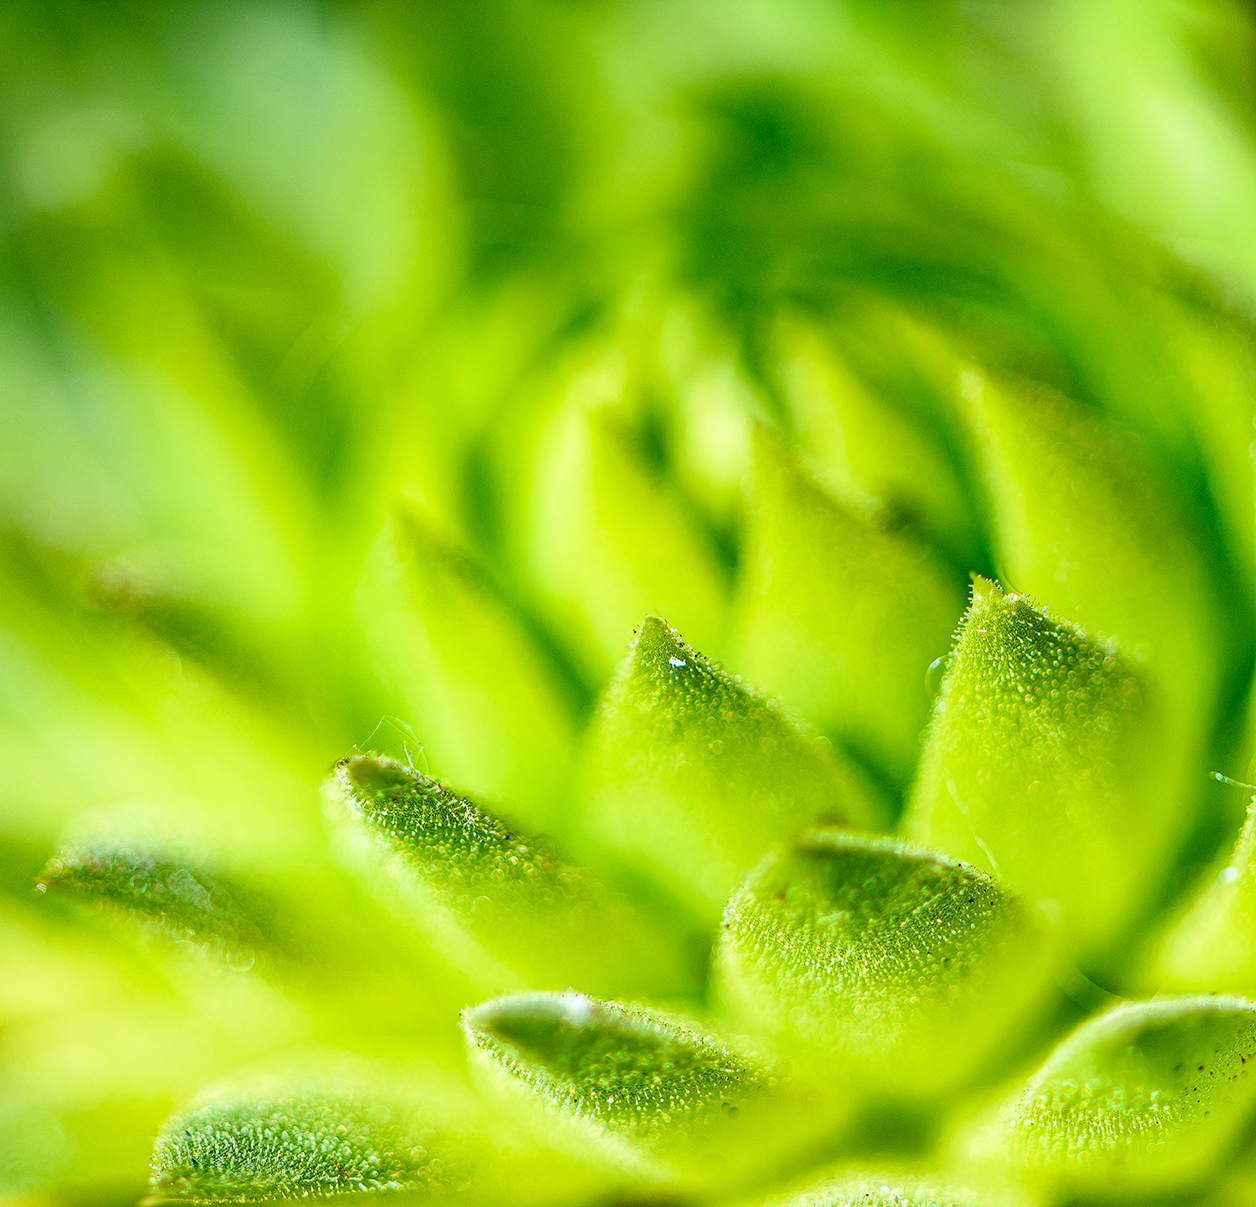
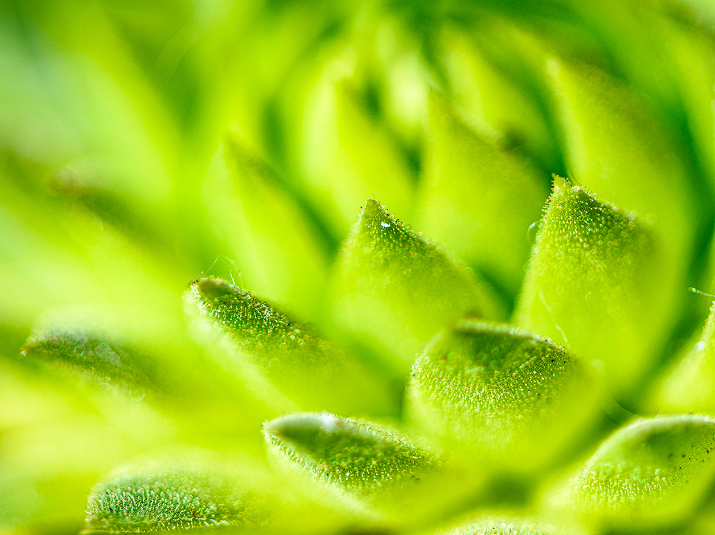
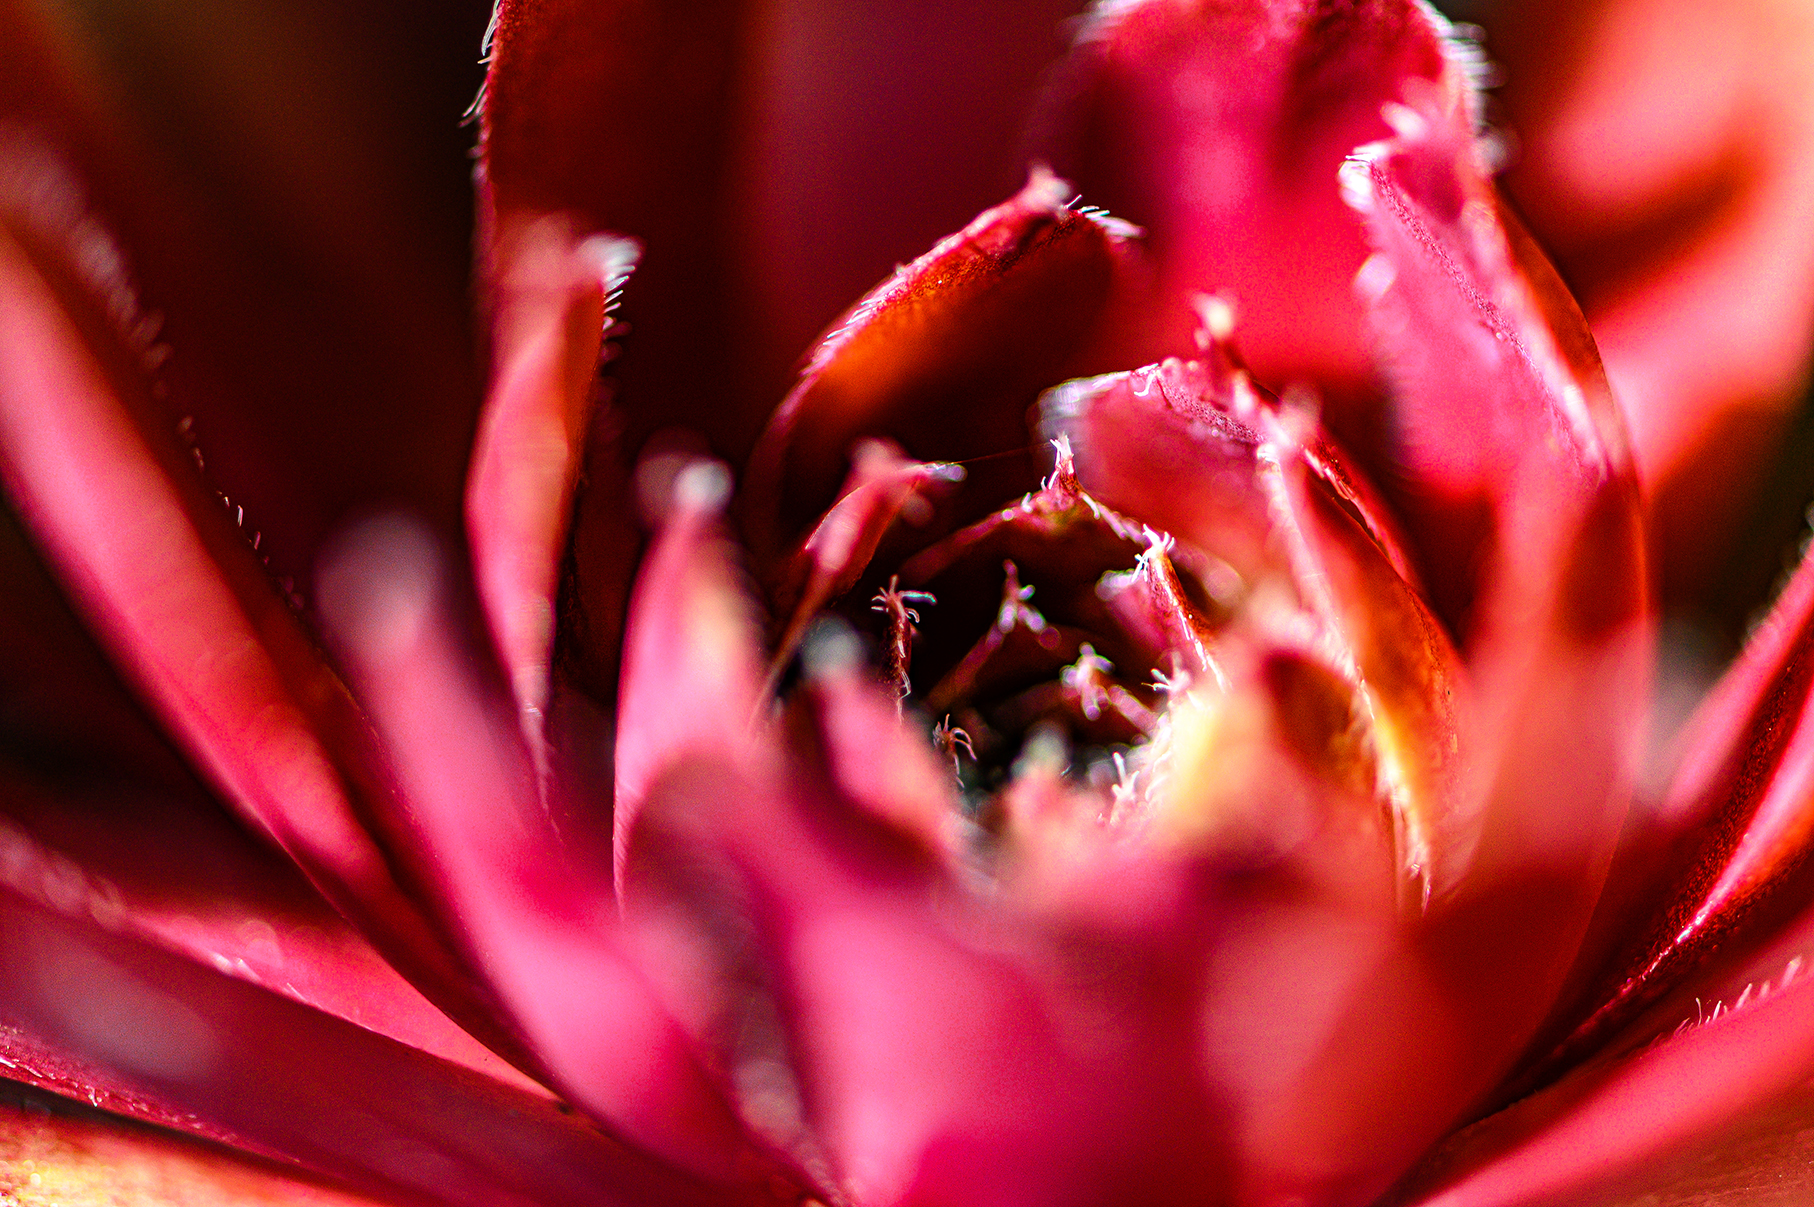
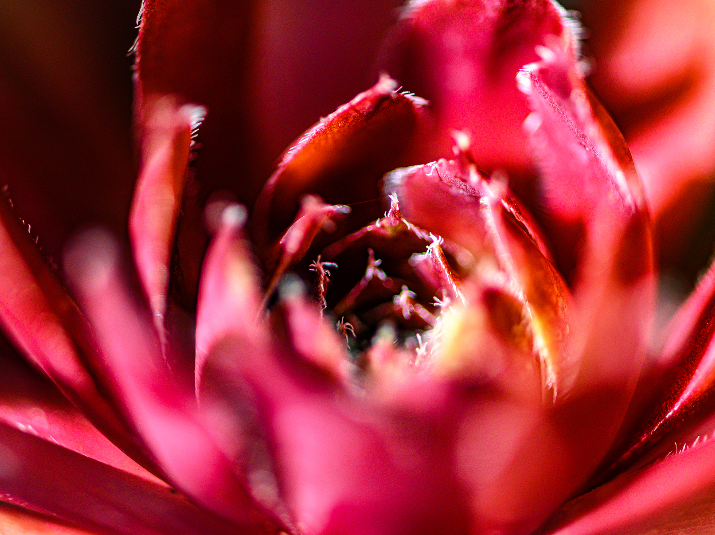
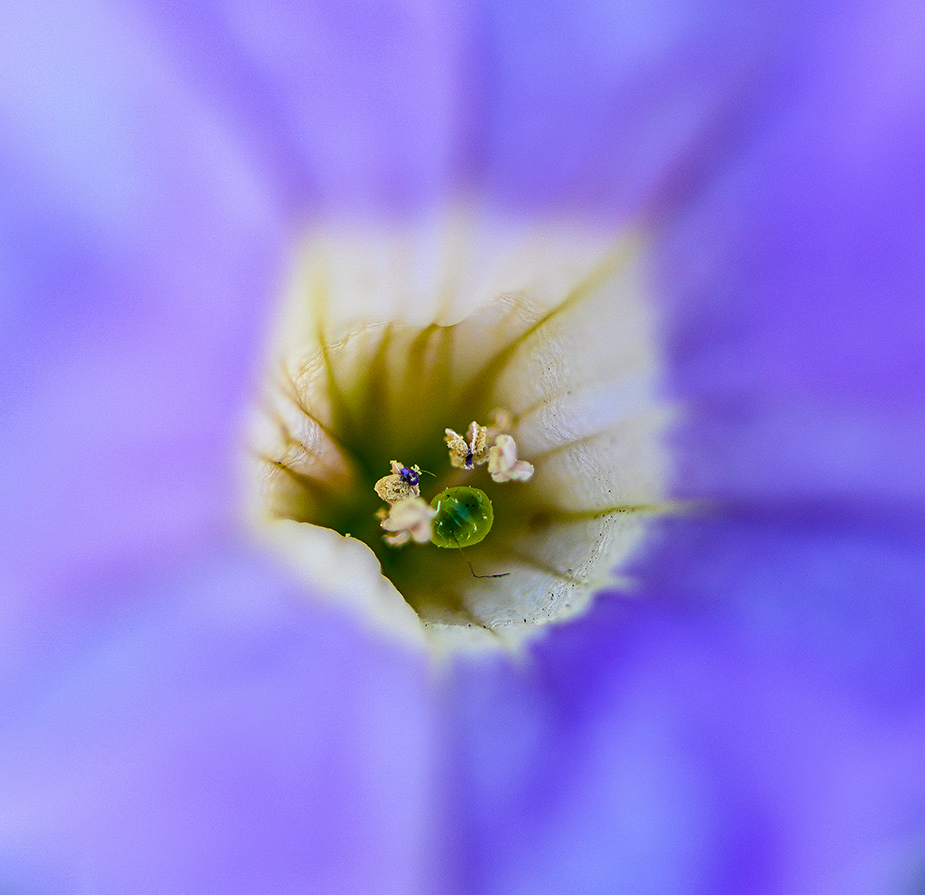
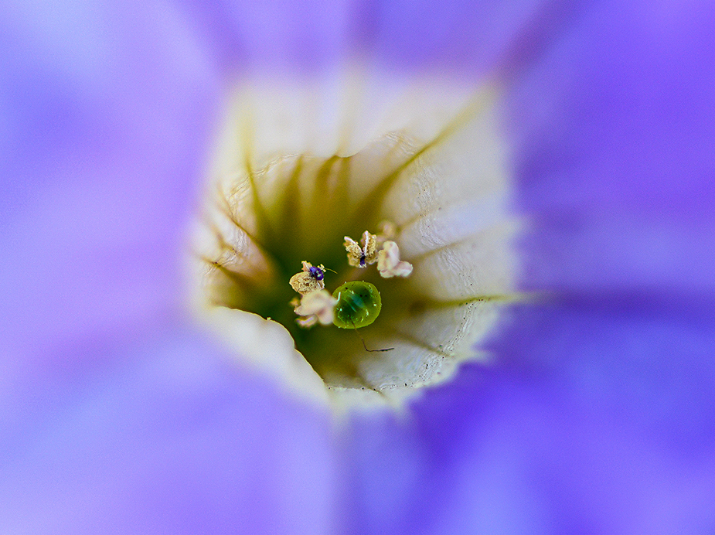
Macro photography of flowers can be done both inside and outside. There are so many opportunities to open up a whole new world of photography and to give you a new way of visualising the world to improve your composition. Plant Macro photography can be shot with either a tripod or handheld, it’s your choice, however, you should get much sharper images if you do use a tripod. You can use any lens that allows you to close focus, but to get the best results something like the NIKKOR 40mm or 85mm DX micro lenses or the for full frame cameras the NIKKOR 60 or 105mm micro lenses would be perfect.

Handheld Macro Photography

If you are shooting handheld, make sure your shutter speed is high enough to ensure a sharp image. This will vary between cameras and lenses but a good shutter speed to aim for would be a minimum of 1/125th or ideally around 1/250th if your subject is not moving. If your lens has a Vibration Reduction (VR) I would suggest setting that to on. Set your ISO to the lowest native ISO on your camera either 64, 100 or 200 and then turn on Auto ISO. You can use either P (Programme), S (Shutter Priority), A (Aperture Priority) or M (Manual) modes. To get the best results we would suggest using manual mode as you can control both the shutter speed to get a pin sharp image and your aperture for either a limited or large depth of field. However Aperture priority will work well for static subjects and shutter priority might be good for moving subjects, although both of these modes do no give you the creative control that manual mode would. For the majority of your subjects, setting Matrix metering and Auto white balance should be fine.

Tripod Macro Photography

Using a tripod will allow you to shoot at a lower ISO and potentially with slower shutter speeds (if needed) with the resulting image being of higher quality than if you were shooting handheld. Your camera will need to be on a low ISO to give you a high quality image and Auto ISO should be turned off. Because your camera is stabilised on the tripod, you can now let more light into the camera by using slower shutter speeds, VR should ideally be turned off. The reminder of the settings will be the same as if you are shooting handheld.

Depth of Field

When working with macro lenses, to get the best images, you do need to understand that these lenses have a very shallow depth of fields. If you set an aperture on a macro lens of f/4, the resulting depth of field is much smaller than if you set this on a 50mm lens. You will create an even shallower depth of by getting in close to your subject as well. If you want a larger depth of field you will need to shoot at f/8 - f/11 or higher. Bear in mind that once you pass f/16 even though your depth of

field is increasing your image will start to get softer as diffraction will be a consideration. If your subject is static you could try focusing stacking the image to achieve a large depth of field with a macro lens.


Focusing

You have many options for focusing, either through the viewfinder, using Liveview on the LCD screen or if your camera has it, either Pinpoint focus mode or Focus Peaking. I tend to prefer using focus peaking or pinpoint focus on my Z 7, but before those features were available, I used the Live View screen and then the Zoom in (magnifying glass with a plus symbol) to digital zoom in on my image so I could achieve critical focus. If you want to use your viewfinder, focusing using a single focus point will be the most accurate way of focusing. If your subject is not moving, use AF-S, if you are trying to track a moving subject such as a butterfly or bee on the plant, use AF-C

Inspiration for Plant Macro Photography

The world of macro photography can give you an unlimited number of subjects to shoot, but if you don’t know where to start, why not think about some of the following:

Abstracts

The patterns on leaves, plants or flowers can work brilliantly as an abstract macro subject. To create the images, choose a small part of the plant or flower, get really close with your macro lens, and see if you can photograph it in such a way that it would be unrecognisable. Cacti and leaves offer interesting curves and structures which are great for this type of photography. A top tip would be to change either the picture control or white balance settings in the camera to create some interesting colours in your images.

Colour

Flowers and plants can be very colourful, so you should use this to your advantage in your compositions. It’s worth looking up ‘Colour Wheel’ theory to understand which colours work well together as this can be the difference between a snapshot and a standout image. If you have the chance, try shooting different images, some with complimentary colours, others with contrasting colours. That said, a single strong colourful flower can be just as engaging.

Textures, Patterns & Symmetry

Plants and flowers have an abundance of patterns and textures. If you use your macro lens to get in close you will discover many textures and patterns on petals and leaves, almost an unlimited world waiting to be photographed. Nature also has a way of creating symmetry, and for macro photography subjects such as succulent plants tend to have leaves that form in very repetitive, symmetrical patterns. These can be used for creating some very striking compositions.

Movement

If you have a plant or flower that is moving in the wind, choosing a slightly slower shutter speed to capture this motion can also give some interesting images. Think about the movement you see across fields of straw or in tall grasses. If you haven’t already tried it, give yourself the challenge of photographing a dandelion with the seed cases drifting away from the stem. Butterflies or insects on the flowers can also provide moving subjects that can make your macro photography more interesting. You will need to use AF-C and a dynamic focusing mode coupled with a high shutter speed to capture these fast moving subjects.

Lighting

To make your images great, I also recommend you try to find some interesting light to work with. While a flat lit overcast day is good for soft lighting and images with no shadows, it might be worth thinking about how you can creatively use either the natural or artificial light around you to enhance your image. For example, backlighting your subject is a good option, as it can create atmosphere to your images. Try shooting a plant or flower from a low angle up toward the setting sun during golden hour, this should give you a stunning background. If you are inside, lighting can come from a window. This is where a cloudy, overcast day can be used to best so that you get soft, diffused lighting. If you shoot the plant or flower from the side, this type of light will give you a gentle fall off to the shadow areas in the image. However, that said you could start to play with the shadows and shoot into the light to create some interesting effects. The time of day you choose to shoot will also affect the colour of the light, early mornings or late afternoon will give you a warmer light as the sun starts to set.

Want to read offline?

You can now download a PDF version of this Hints & Tips article to read offline and print

DOWNLOAD

NIKKOR Lenses
NIKKOR Lenses